How to Manage Public SSH Keys
To SSH/SFTP into your server using public key authentication, you must first add your public key to a system user's list of authorized keys.
ServerPilot only manages SSH keys for system users created through ServerPilot. To manage SSH keys allowed for logging into your server as root, you need to manually update the /root/.ssh/authorized_keys file.
Adding a Key
If you haven't already generated an SSH key pair, do that now.
Once you have a key pair, log in to your ServerPilot account and navigate to the Account Settings page by clicking on Settings from the Account drop-down menu.

Next, click SSH Keys in the left side-bar navigation.

You should now be on the SSH Key Management page where you will be able to add a new key.
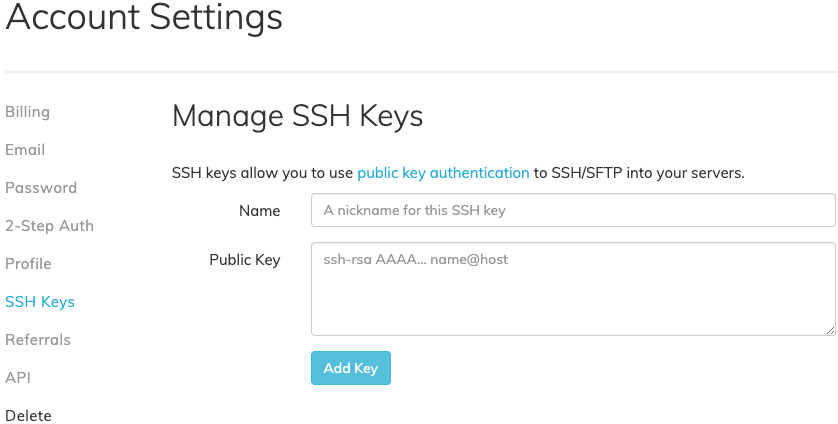
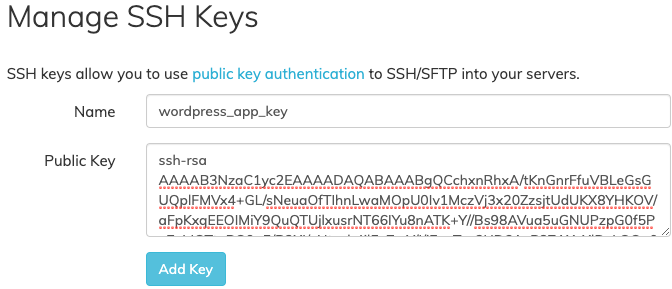
Now, input a name for the key into the Name form. Then paste in the entirety of your public key into the Public Key text box (including ssh-rsa), and click Add Key to add it to your account.
The username and host portion (eg. serverpilot@my-MacBook-Pro.local) at the end of a public key are not required, but may be useful in helping you identify which system it was generated on originally.
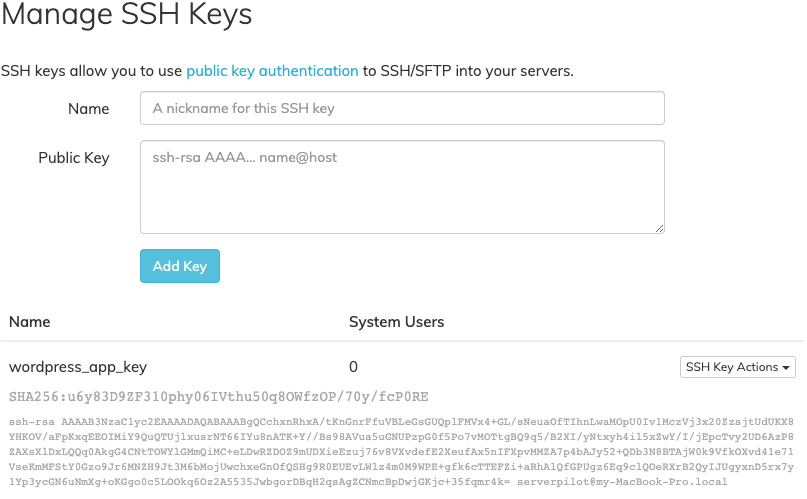
If the key was successfully added to your account, then you should see a success message appear in the top-right of your browser, and the key will also appear below the form you just filled out.

Once a key has been added to your account, you will want to associate this public key with one or more system users to be able to use it.
Associating an SSH Key with a System User
Before you can login using the private key associated with the public key that you've added, you have to associate the key with a system user. If you would like to associate the same public key with more than one system user, you may do so by repeating this process with as many system users as you'd like.
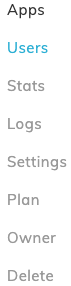
To associate a public key with a system user, first select the server you want to use the key on, and then click the Users option in the left side-bar navigation.
A list of system users that have been created on the server will be displayed.

Click on the name of the system user you want to be able to use the public key with. At the bottom of the page, there will be a drop-down menu where you can select a public key. Select the key you wish to associate with the system user, and click on Add Key.

A success message will then be shown in the top-right of your browser if there weren't any issues adding the key.
After you've associated the key with a system user, you will then be able to login using the private key that was generated with the public key originally. In order to login using a key, you will want to configure your SSH/SFTP client settings to use the corresponding private key for authentication instead of a password.
Delete an SSH Key
To delete an SSH key, you'll want to navigate to the Account Settings page by clicking on Settings from the Account drop-down menu.
Next, click SSH Keys in the left side-bar navigation.
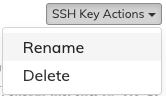
Locate the key you wish to remove in the list, click the SSH Key Actions drop-down menu to the right of the corresponding key, and click Delete.

A success message will appear in the top-right of your browser if there weren't any issues.

Removing a Key Associated with a System User
To remove a public key with a system user, first select the server that the system user's key is on, and then click the Users option in the left side-bar navigation.
A list of system users that on the server will then be displayed.

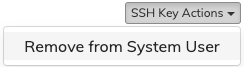
Click on the name of the system user or the number in the SSH Key column. Then click the SSH Key Actions drop-down menu to the right of the corresponding key you want to remove, and select Remove from System User.
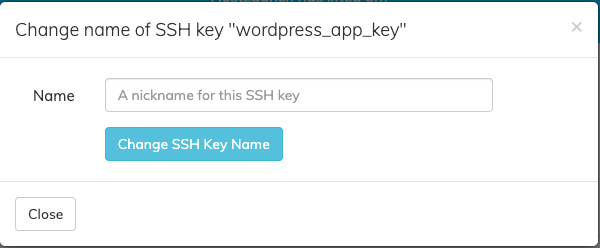
Rename an SSH Key
To rename an SSH key, you'll want to navigate to the Account Settings page by clicking on Settings from the Account drop-down menu.
Next, click SSH Keys in the left side-bar navigation.
Locate the key you wish to rename in the list, click the SSH Key Actions drop-down menu to the right of the corresponding key, and click Rename.
A pop-up menu will then appear where you can update the current name by inputting the new name into
the Name form, and clicking Change SSH Key Name.