How to Install a WooCommerce Theme
Once you have WooCommerce installed and set up on your WordPress site, you might notice your products, cart, and checkout do not appear in your theme's menus.
WooCommerce uses its own themes library to create these menus, and Automattic recommends using a WooCommerce-specific theme as you create your store.
Downloading a Theme
First, open a new tab in your browser and visit the WooCommerce themes library. (You will need to log in to or create a free account with WooThemes to access its repository.)
Select the theme that will work best for your store and the product you're selling.
After completing the checkout process to buy your theme (or gain access to your free theme), click the Downloads tab in your account.
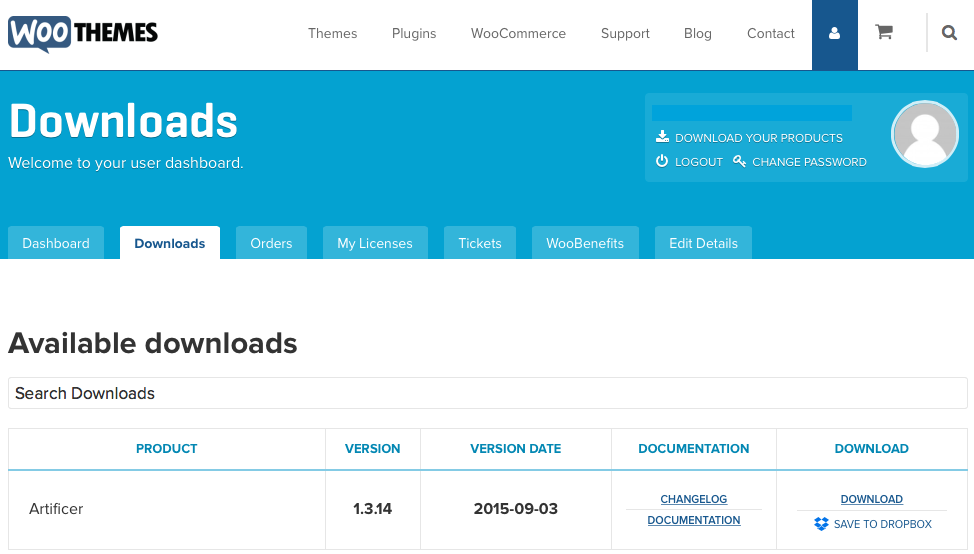
Click Download next to the theme you just purchased. (Make sure your browser is set to leave compressed files in .zip format.)
Installing a Theme
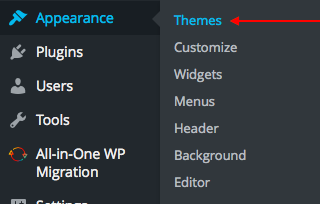
Now, select Themes from your WordPress Dashboard's Appearance menu.
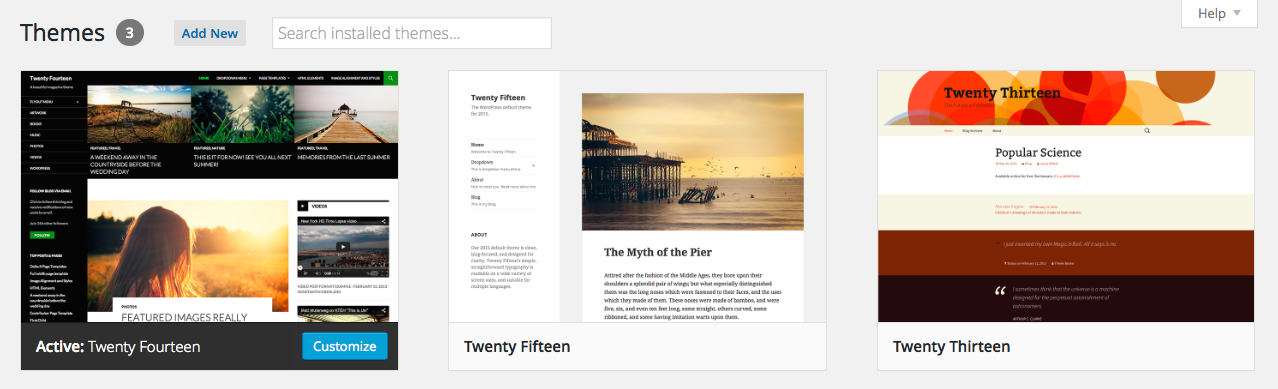
Click Add New at the top of the Themes panel.
Then, click Upload Theme at the top of the Add Themes panel.
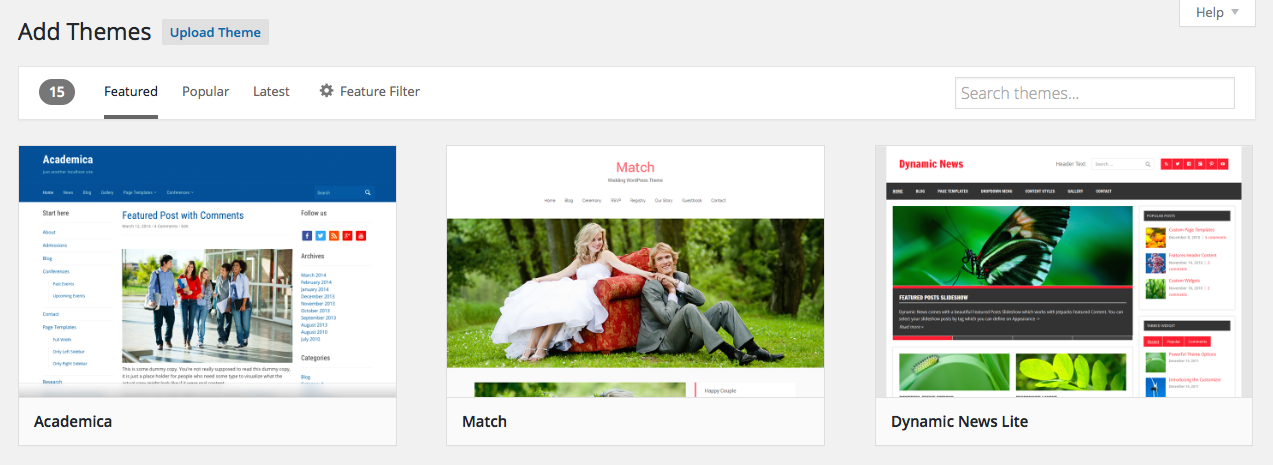
Click Choose File and select your new theme from your computer's Downloads folder.
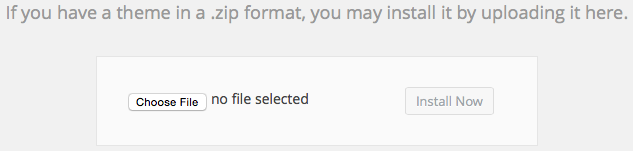
Click Install Now.
Activating a Theme
After your WooCommerce theme has finished installing, click Activate.
If this is the first time you've installed a theme from WooThemes that requires a license, you'll see an alert to download the WooThemes Helper plugin.

The WooThemes Helper lets you activate licenses for your site and receive easy updates to WooThemes plugins and extensions.
Once your theme is activated, be sure to reference its specific documentation for instructions on setting it up correctly.
Contact WooThemes support if you need help.