How to Create a Server on Linode
Linode lets you quickly create and deploy a cloud server from its variety of sizes and packages.
Create a Server
To create a server with Linode, first sign in to your Linode account and click Add a Linode under the main Linodes tab. If you have not created any linodes (servers), you will automatically be taken to the server selection screen.
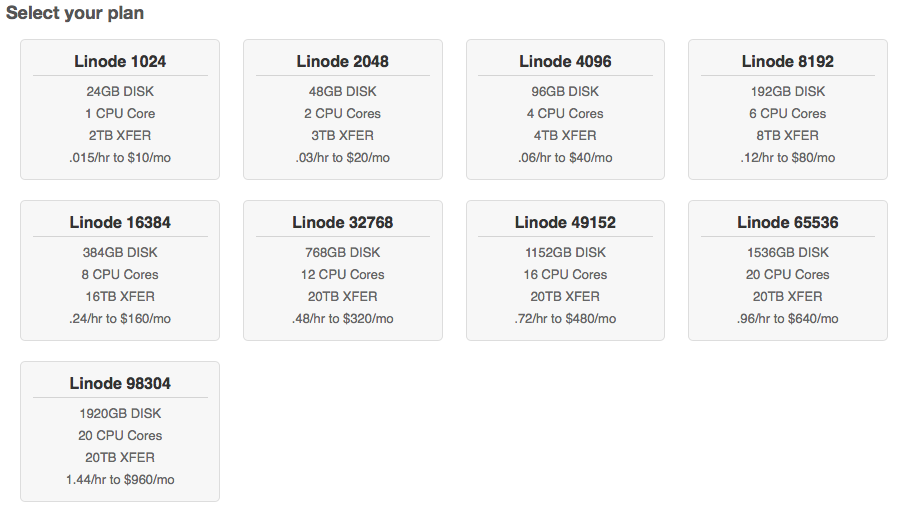
Pick the plan that will give you the best resources for your development and production needs. (Note the number in each plan's title is the amount of memory in megabytes for each server size.)
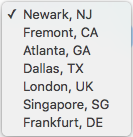
Select the data center either closest to you, for a development server, or closest to your target audience, for a production server.
Click Add This Linode!
Deploy Ubuntu
Now, select your new linode from your list of servers to open its Dashboard.

Select Deploy an Image from beneath the Dashboard header.

Select Ubuntu 18.04 LTS,Ubuntu 20.04 LTS, Ubuntu 22.04, or Ubuntu 24.04 for the Image.
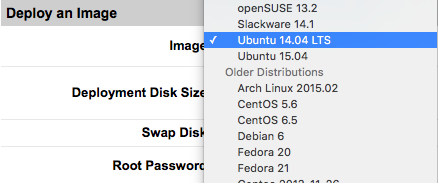
Enter the Deployment size equal to your server's maximum. (We used a small server in this tutorial.)

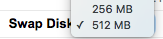
Set 512 MB for the amount of swap space.
Create a password for root and click Deploy.
Once your disk image has completed, turn on your linode by clicking Boot in your Dashboard.

Connect to Your Server
Click on the Remote Access tab, and you'll see your server's IP address listed.

You'll need your IP address to connect your server to ServerPilot and begin deploying apps, such as WordPress or Magento.