How to Install and Configure WP Rocket
The WP Rocket plugin can speed up your WordPress site through caching and other performance optimizations. WP Rocket is also compatible with other optimization services, such as CloudFlare.
Downloading and Installing WP Rocket
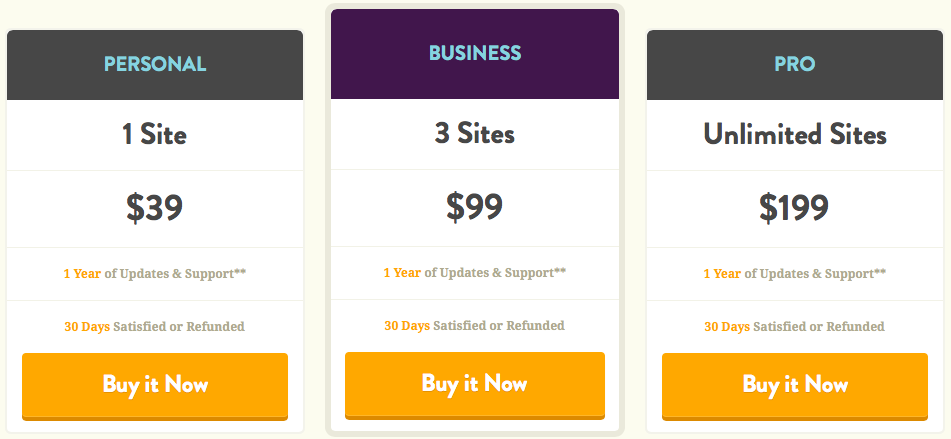
First, visit the WP Rocket site and click Buy It Now.
Choose the plan that works for you.
Complete the necessary steps to place your order. On the confirmation screen, click Download WP Rocket & Install It to download the ZIP folder. Make sure you do not extract the files.

Next, log in to your WordPress Dashboard.
Open your Plugins panel and remove all other optimization plugins, such as WP Super Cache and W3 Total Cache.
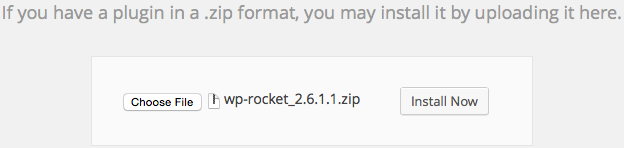
Open your Add Plugins panel and click Upload Plugin.

Click Choose File and select wp-rocket_CURRENT.VERSION.zip from your computer's Downloads folder. Click Install Now.
After WordPress automatically completes the installation, you'll receive an email confirming a new domain has been added to your WP Rocket account.
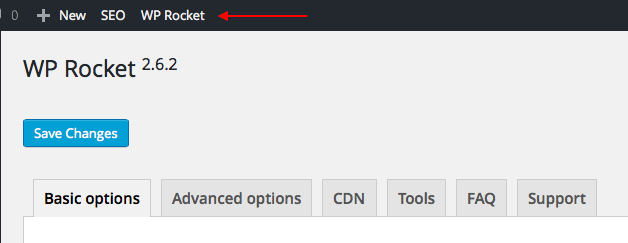
Now, activate the plugin, and WP Rocket will be added to your Settings menu.
Configuring WP Rocket
As soon as you activate the plugin on your WordPress app, WP Rocket will begin caching your pages. However, there are numerous settings you can configure to suit your site.
Open the plugin's panel by clicking the WP Rocket menu at the top of your WordPress dashboard.
Then, use these recommended Basic Options to get the most out of WP Rocket without breaking your app.
Lazy Load
Enable the lazy loading of images, especially if you have a lot of images on your site.

Lazy load makes a long page load faster by delaying the images outside of the viewport until the user scrolls to them.
Mobile Cache
You can enable mobile caching as long as you are using a regular or responsive theme without any mobile plugins.

Logged In User Cache
Enable caching for logged in users if you have users who log in to access your site.

Each user will get his or her own cache.
SSL Cache
If you have an SSL certificate for your site, then you must enable SSL caching in WP Rocket.

Files Optimization
We recommend leaving minification and concatenation disabled unless you are a very experienced WordPress developer.
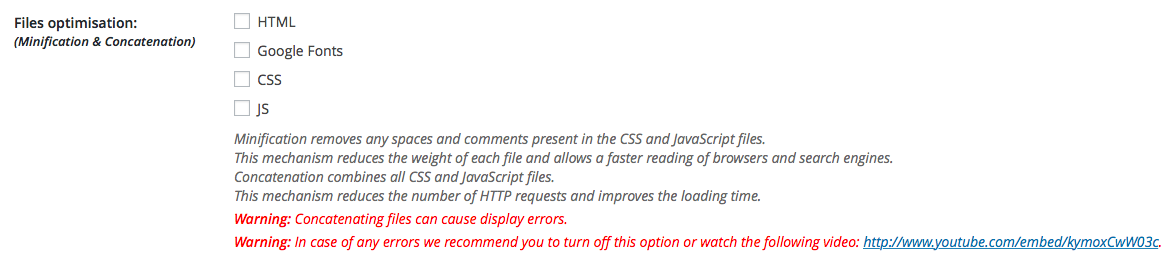
These settings may sometimes cause breakage in the display and layout of your site, depending on your code; refer to WP Rocket's documentation for advanced guidance on minification and concatenation.
Cache Lifespan
Finally, leave the caching lifespan set to 24 hours. Setting this too low will clear the cache too frequently, while setting it too high might cause visitors to miss the latest content on your site.

Confirming WP Rocket Is Caching
Follow these steps to confirm WP Rocket is caching properly.
First, log out of WordPress, unless caching for logged in users is enabled.
Then, visit your app's domain and view the source code.
You should see the following comment at the bottom of the page:
This website is like a Rocket, isn't it ? Performance optimized by WP Rocket. Learn more: http://wp-rocket.me
If minification is turned on, you may not see the comment but will see links to the minified files in the header.
For information on the more advanced settings, be sure to review WP Rocket's documentation.