How to Install PrestaShop
PrestaShop's open-source ecommerce platform allows you to create powerful web stores through an easy-to-use interface.
You can install PrestaShop on your server with DigitalOcean, Rackspace, or Linode using SFTP after you have connected your server to ServerPilot.
Creating an App in ServerPilot
First, click Create App in ServerPilot; this can be done immediately after connecting a server or by going to the Apps page.
Give your app a name and select the server you want this app to be on (probably the one you just set up).
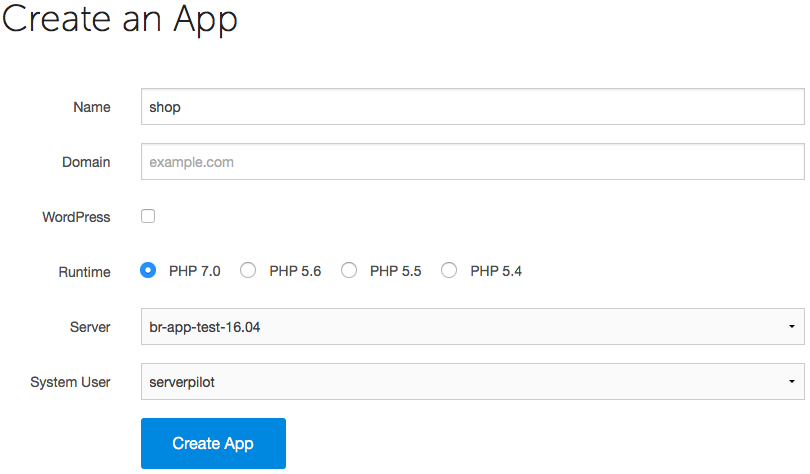
You may also select the system user you want to run this app.
Click Create App to submit the form. You'll be shown some details about the app.
Creating a Database
PrestaShop requires a MySQL database to run its installer, so we'll create one now.
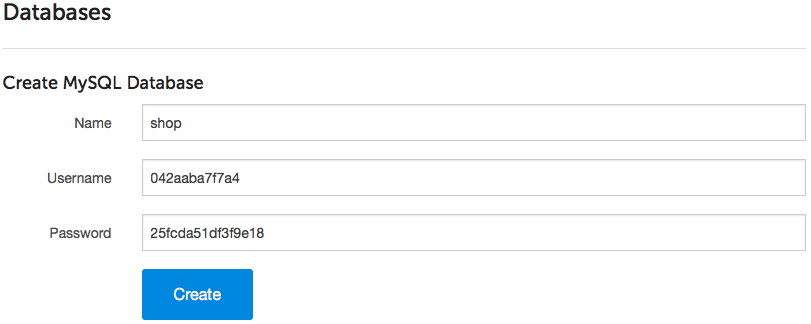
Open your PrestaShop app's Databases tab in ServerPilot and click Create Database.
Choose a database name. A database username and password will be generated for you. Write these down, so you can enter them when the PrestaShop installer asks. Then, submit the form in ServerPilot to create the database.
If you forget to write down the database password and need to reset it, just click on the database user in ServerPilot to see the change password form.
Installing PrestaShop
Now, it's time to install PrestaShop on your server.
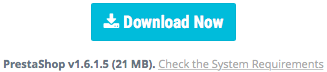
Visit the PrestaShop Download page. Enter your email address and click Download Now.
Now, log in to your server through Cyberduck (or your preferred SFTP client) with the system user and the password you created when you connected your server to ServerPilot.
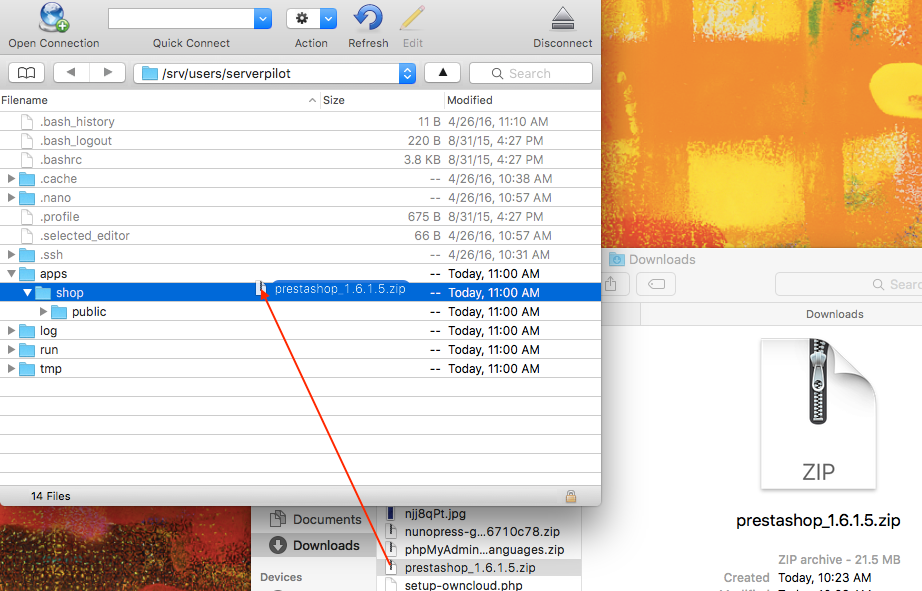
Follow this path to your app directory, where APPNAME is the name of your app (we use shop in this tutorial):
apps/APPNAME
Drag the PrestaShop .zip file from your computer's Downloads folder and drop it into your app directory in Cyberduck.
Next, delete the public folder that currently resides in your app directory.
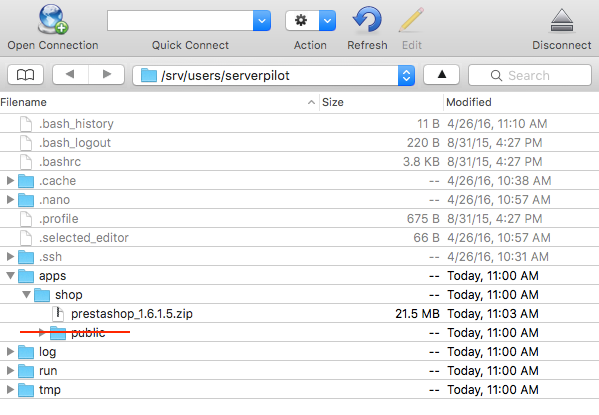
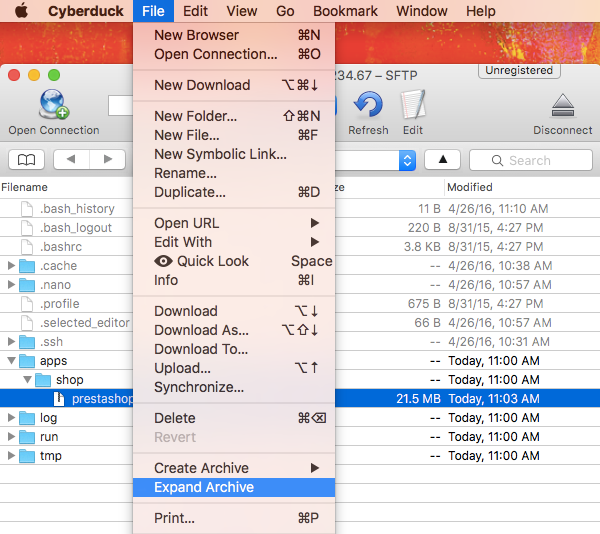
Then, click once on the PrestaShop .zip file and select Expand Archive from the Cyberduck File menu.
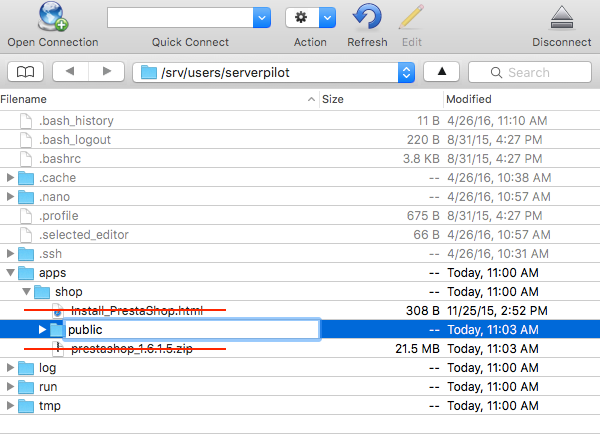
When the file has decompressed, delete the archive along with the .html file that appeared. (This .html file contains a redirect to PrestaShop's full instructions on using its software; you may move it back to your desktop if you prefer.)
Make sure to rename the new prestashop folder to public.
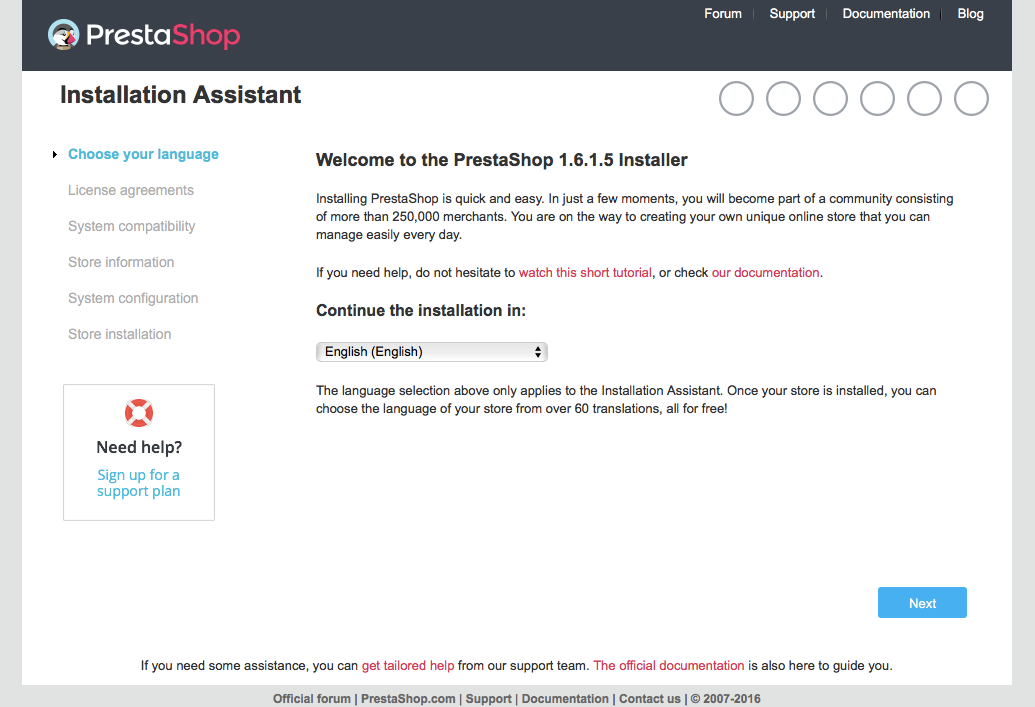
In your browser, visit your IP address or domain (if you have configured DNS). You should see the screen to begin the PrestaShop installer.
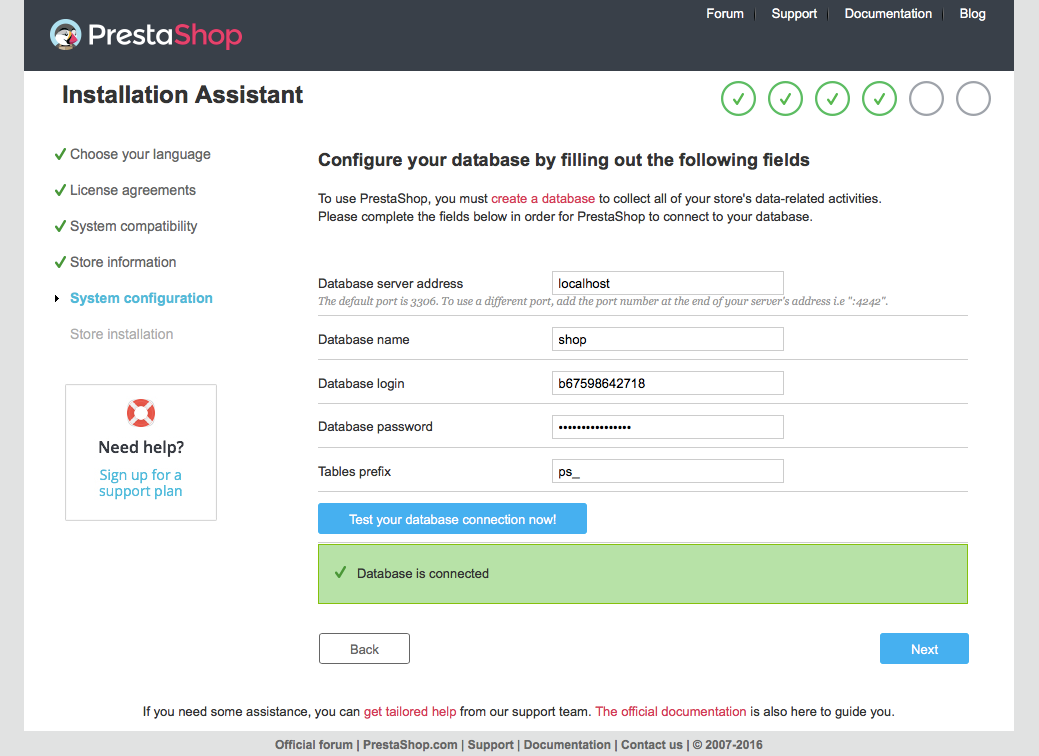
Configuring PrestaShop
As you proceed through the installer, enter the database name, username, and password you created in ServerPilot when asked for your MySQL credentials.
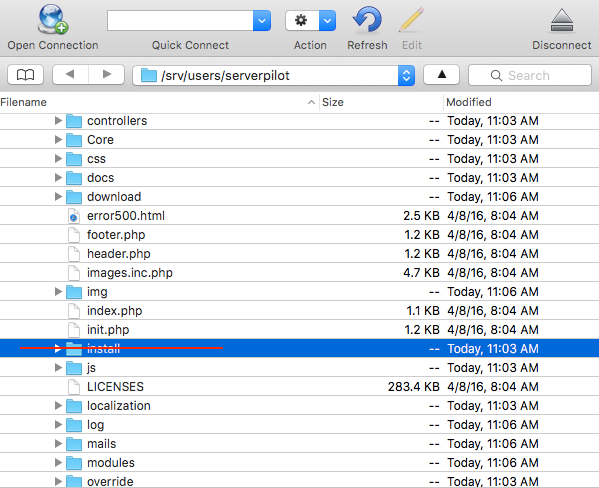
When the installer has finished, navigate back to your PrestaShop app's public folder in Cyberduck and delete the install folder. For security purposes, this must be done before you can configure your store.
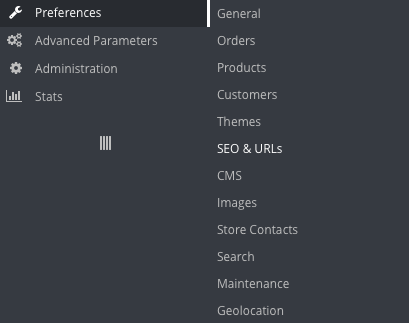
If you installed PrestaShop using your IP address instead of a domain, make sure to add the domain in PrestaShop after adding it to ServerPilot.
Select SEO & URLs from the Preferences menu.
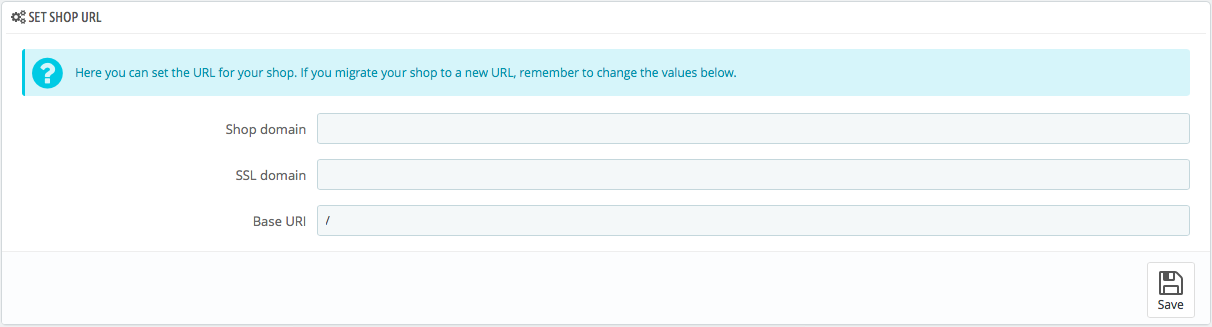
Then, find the box labeled Set Shop URL and enter your domain.
That's It
Your new PrestaShop is ready to use!
Sample data is automatically stored so you can explore all of the sofware's functions, but you can easily remove it by following PrestaShop's documentation.