How to Install Magento 2
ServerPilot makes it easy to install Magento 2 on your servers with DigitalOcean, Rackspace, or Linode.
Creating an App in ServerPilot
An app is a web application, such as Magento 2.
After connecting your server to ServerPilot, click Create App.
Give your app a name and select the server you want this app to be on (probably the one you just set up).
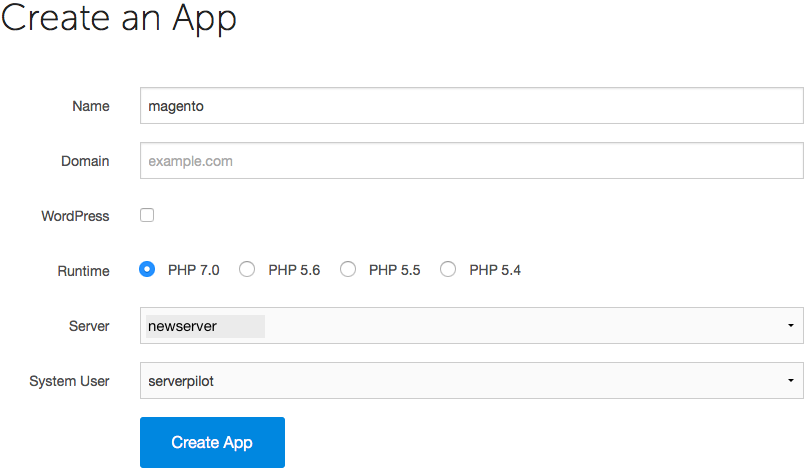
You may also select the system user you want to run this app.
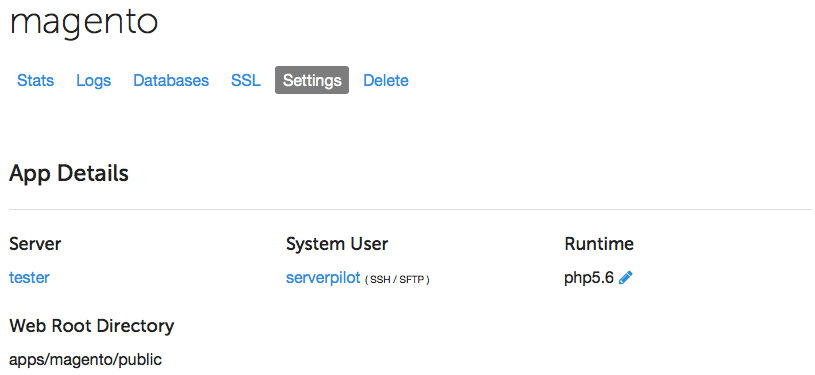
Click Create App to submit the form. You'll be shown some details about the app.
Creating a Database
Magento 2 requires a MySQL 5.6+ database to be created before you run its installer.
To do so, open your app in ServerPilot and go to the Databases tab. Click Create Database.
Choose a database name. A database username and password will be generated for you. Write these down so you can enter them into the Magento 2 installer, and then submit the form in ServerPilot to create the database.

If you forget to write down the database password and need to reset it, just click on the database user in ServerPilot to see the change password form.
Installing Magento 2 Using SFTP
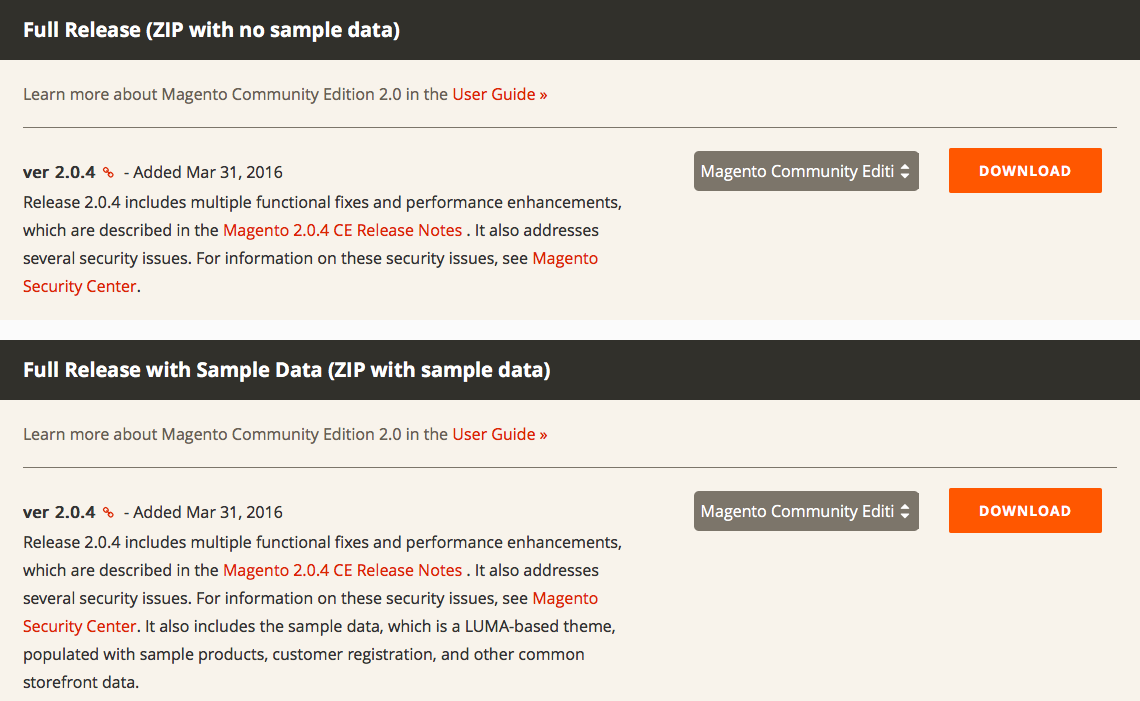
After logging in or creating an account at www.magento.com, open the Download tab on the Magento Community Edition page.
The most recent version of Magento 2 will be shown, and you'll be given the option to download it either with or without included sample data. (If you have never used it before, Magento suggests downloading it with sample data so you can learn how the app works.)
Choose the .zip archive from the dropdown menu of your choice and
click
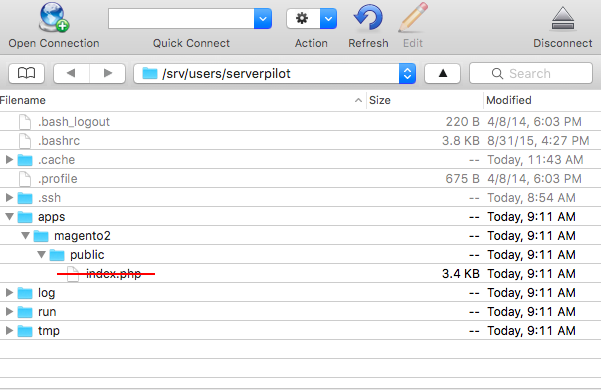
Now, log in to your server through Cyberduck (or your preferred SFTP client) with the system user and password you used to create your Magento 2 app in ServerPilot. (If you followed our tutorials on uploading files and configuring Cyberduck, then your server may already be displayed under Cyberduck's History tab.)
Follow this path to your app's web root directory, where APPNAME is the name of your app:
apps/APPNAME/public
In this tutorial, we named our app "magento".
Delete your app's default index.php file.
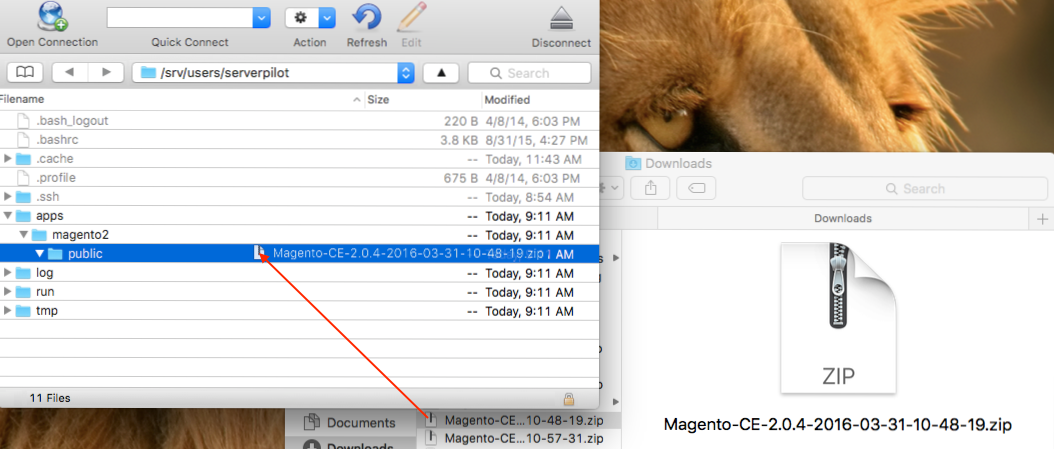
Now, find the Magento 2 archive in your computer's Downloads folder and drag and drop it into your app's public folder in Cyberduck.
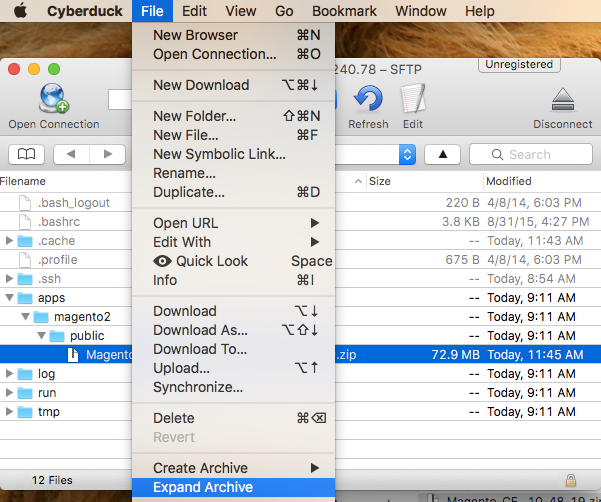
Next, click once on the Magento 2 archive in Cyberduck and then select Expand Archive from the Cyberduck File menu.
When the archive has finished extracting, delete the .zip file from your server.
In your browser, visit your server's IP address or your Magento 2 app's domain if you have already configured DNS. Follow the instructions in the Magento 2 Installer and, when asked, enter the MySQL database name, username, and password you created in ServerPilot.
After the installer has finished, log in to your Magento 2 Dashboard.
Configuring the Magento Cron Job
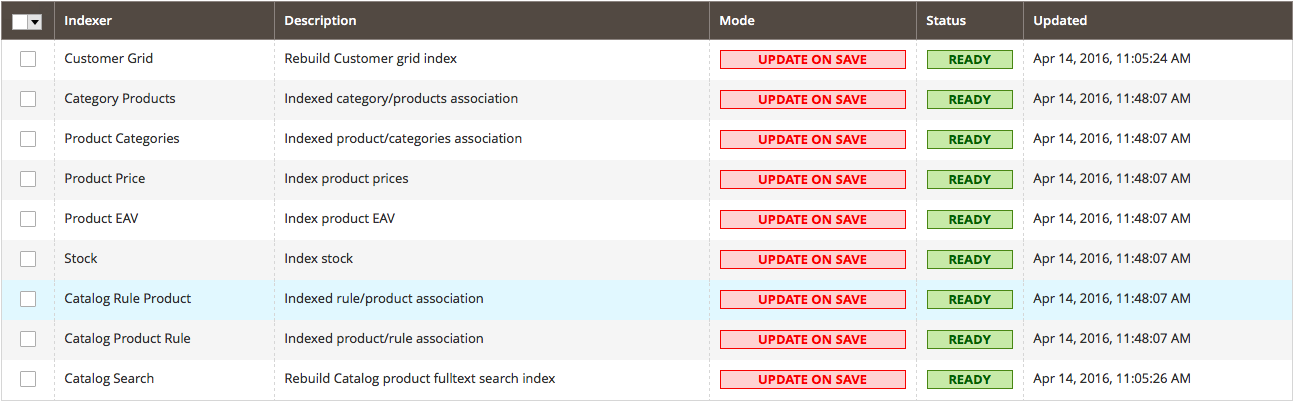
When you log in to Magento 2 for the first time, you will be alerted that several of your indexes need to be updated.

Clicking the link indexers are invalid will show you which items need to be reindexed.
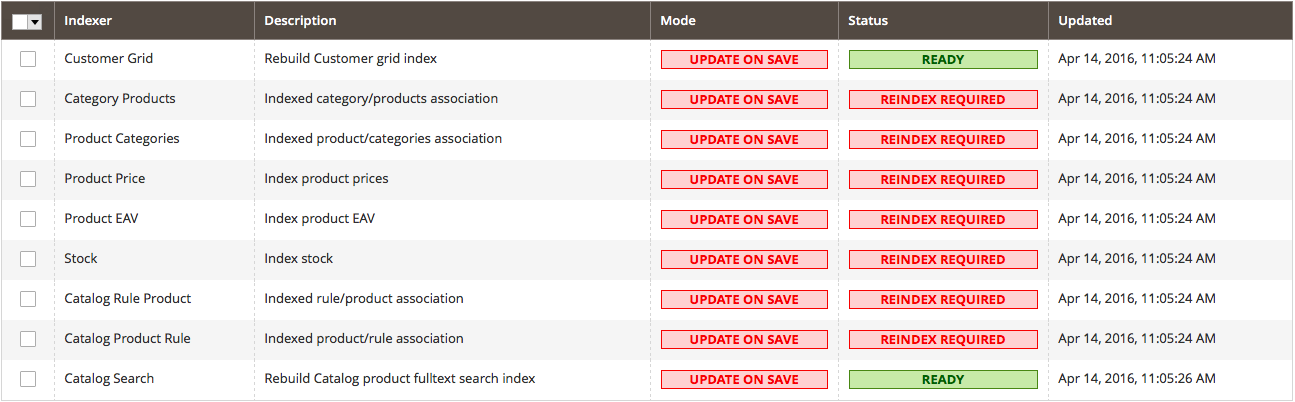
Magento 2 requires you to set a cron job for these reindexes to occur.
To edit the crontab for your Magento 2 app, SSH in to your server as the app's system user and run this command:
crontab -e
If this is your first time editing a crontab, you'll be asked to select an editor to use. We recommend using nano because, as your server says, it is the easiest to use.
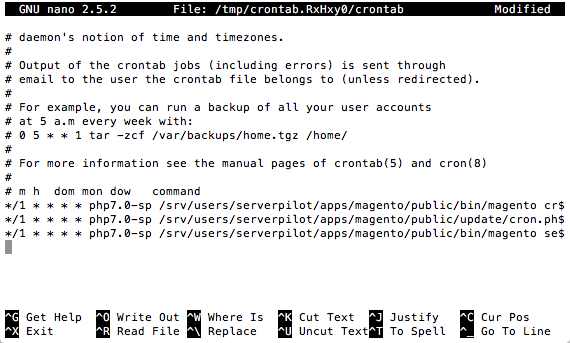
Scroll to the bottom of the block of text and then enter the following lines, where SYSUSER is your app's system user and APPNAME is the name of your Magento 2 app:
*/1 * * * * php7.0-sp /srv/users/SYSUSER/apps/APPNAME/public/bin/magento cron:run >>/srv/users/SYSUSER/apps/APPNAME/magento-cron.log 2>&1
*/1 * * * * php7.0-sp /srv/users/SYSUSER/apps/APPNAME/public/update/cron.php >>/srv/users/SYSUSER/apps/APPNAME/magento-cron.log 2>&1
*/1 * * * * php7.0-sp /srv/users/SYSUSER/apps/APPNAME/public/bin/magento setup:cron:run >>/srv/users/SYSUSER/apps/APPNAME/magento-cron.log 2>&1
Press ctrl+O to save your work, and then press Enter. Press ctrl+X to exit.
Now, go back to your Index Management page in Magento. Refresh your browser, and you'll see that all of your indexes are now ready.
That's It!
ServerPilot will keep you server's system packages updated with security updates.
Happy eCommercing!