How to Create a DreamCompute Server on DreamHost
DreamHost has refined its DreamCompute cloud servers, making it even easier to configure an Ubuntu VPS and connect it to ServerPilot.
To create a DreamCompute server, create a DreamHost account at https://cloud.dreamhost.com.
Next, click Let's Get Started.

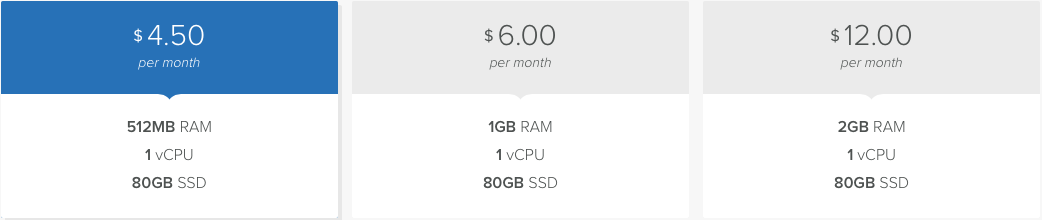
As you build your server, you'll need to select its size from the options provided.
ServerPilot runs on 64-bit Ubuntu 16.04 or 18.04, so select one of those Ubuntu versions as your operating system.

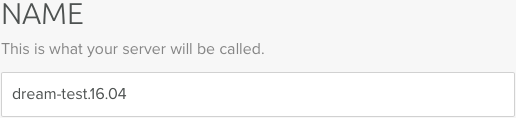
Name your server.
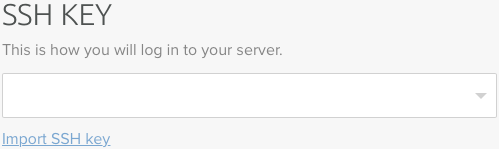
DreamCompute only uses SSH keys, so click Import SSH Key to add your key. (Read How to Use SSH Public Key Authentication if you haven't generated a key pair for your system.)
Copy the content of your public key file (titled id_rsa.pub) and paste it into the pop-up window. Your public key will likely begin with either ssh-rsa or ssh-dss, followed by a string of random characters.
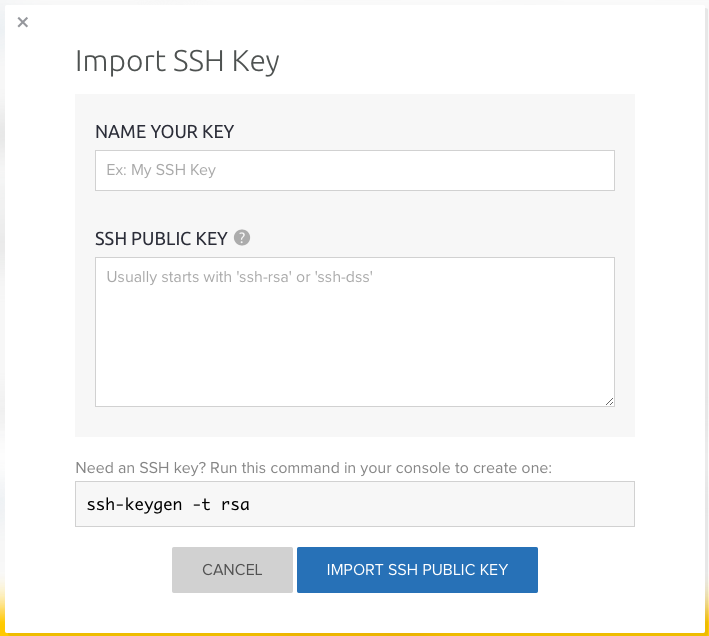
Name your key and click Import SSH Public Key.
Now, click Launch This Server.

When your server has booted, click its name.

Here you'll see your server's administrative user, ubuntu, created by DreamHost; this user has full sudo priviledges and can run commands as root using sudo.
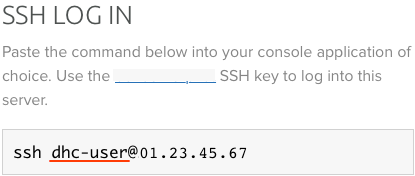
Copy this user and open a new terminal window.
SSH in to your server as this user and manually connect your server to ServerPilot.