How to Create a Server on Amazon Lightsail
Amazon Lightsail is AWS's service that offers developer-friendly cloud servers. Unlike Amazon EC2, which is extremely complicated and intended for usage by sysadmins instead of developers, Amazon Lightsail offers a simplified workflow for launching servers.
However, Amazon Lightsail is not intended for people completely new to cloud servers. Using Lightsail requires you to be familiar with SSH public key authentication. If you are not, you should continue to use providers like DigitalOcean that support both password authentication and public key authentication.
Creating Your Server
To create your Amazon Lightsail server, first, sign in to your AWS account and click Create instance.

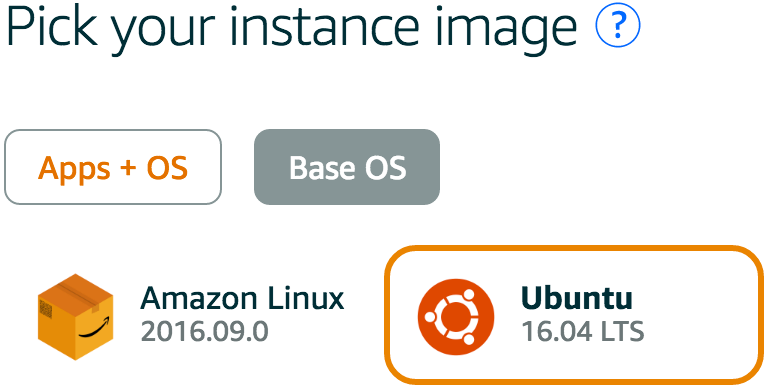
Because ServerPilot will only install on a clean server with no existing web stack or applications, click Base OS to pick your instance image. Then, click Ubuntu 18.04 LTS, Ubuntu 20.04 LTS, Ubuntu 22.04 LTS, or Ubuntu 24.04 LTS.
Lightsail will generate a default SSH key pair or you can decide to use your own.

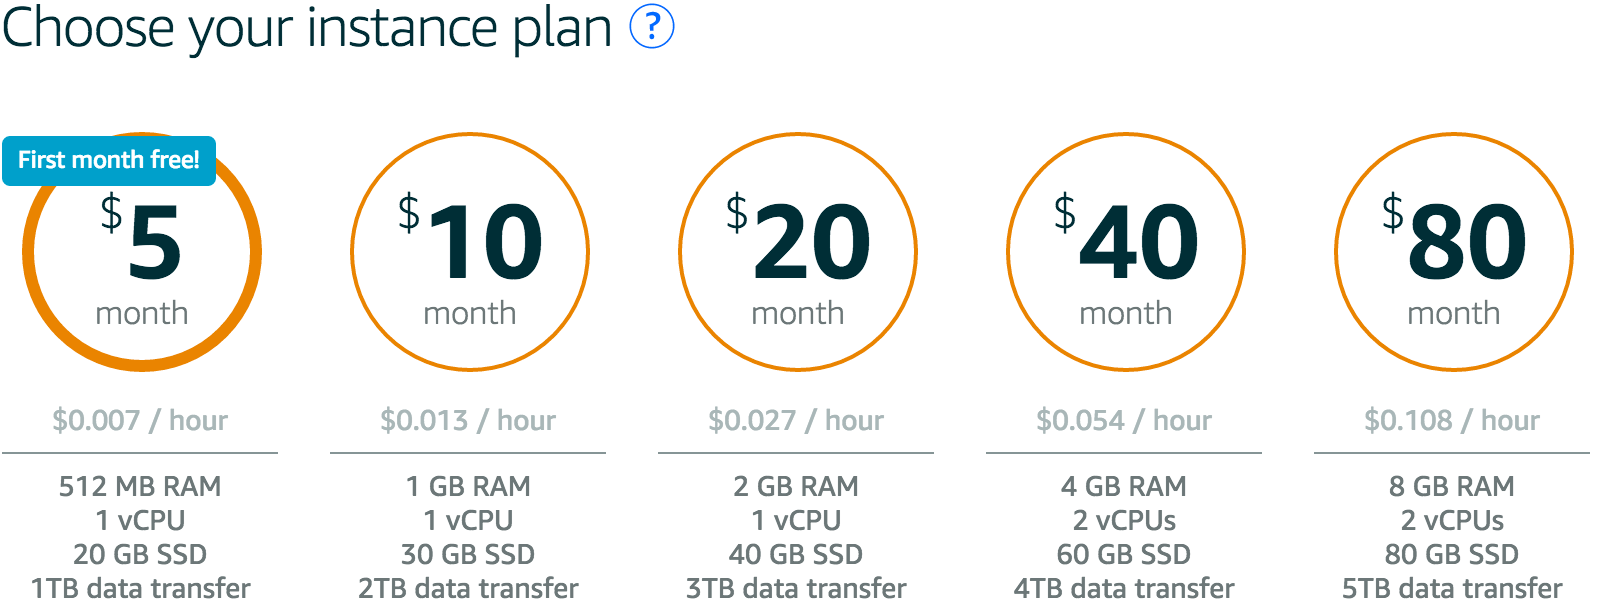
Now, choose your instance plan.
Lightsail will tell you the location of your new server and give you the option to choose a zone closer to you or to most of your traffic.

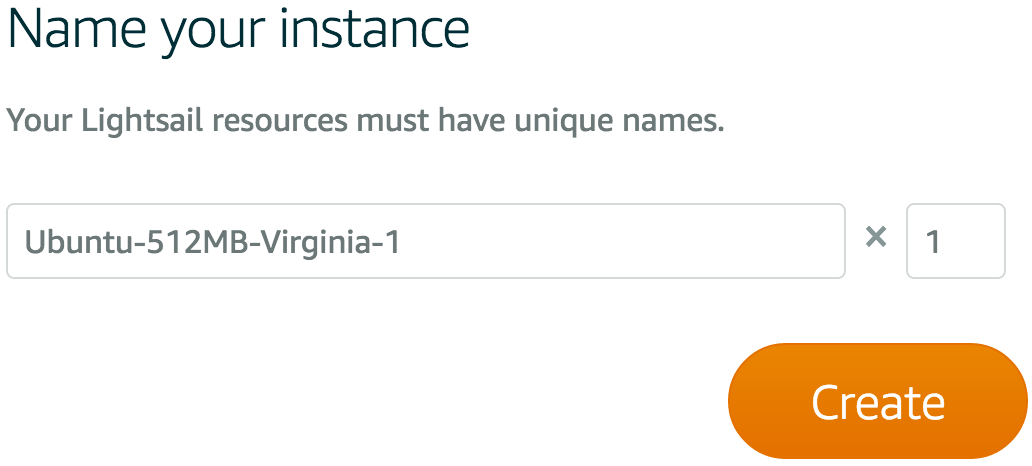
Name your instance and click Create.
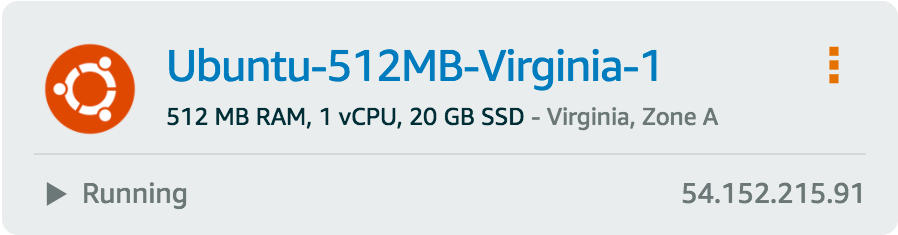
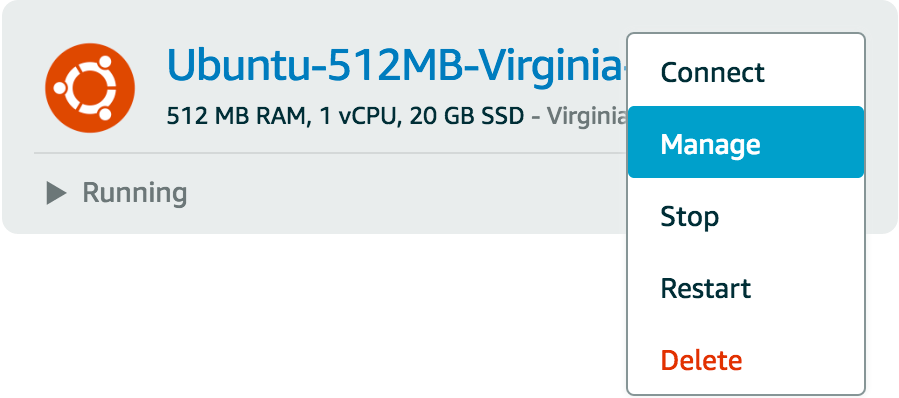
Once your server has booted up, you'll see it listed on the Lightsail home page.
Allowing HTTPS Connections
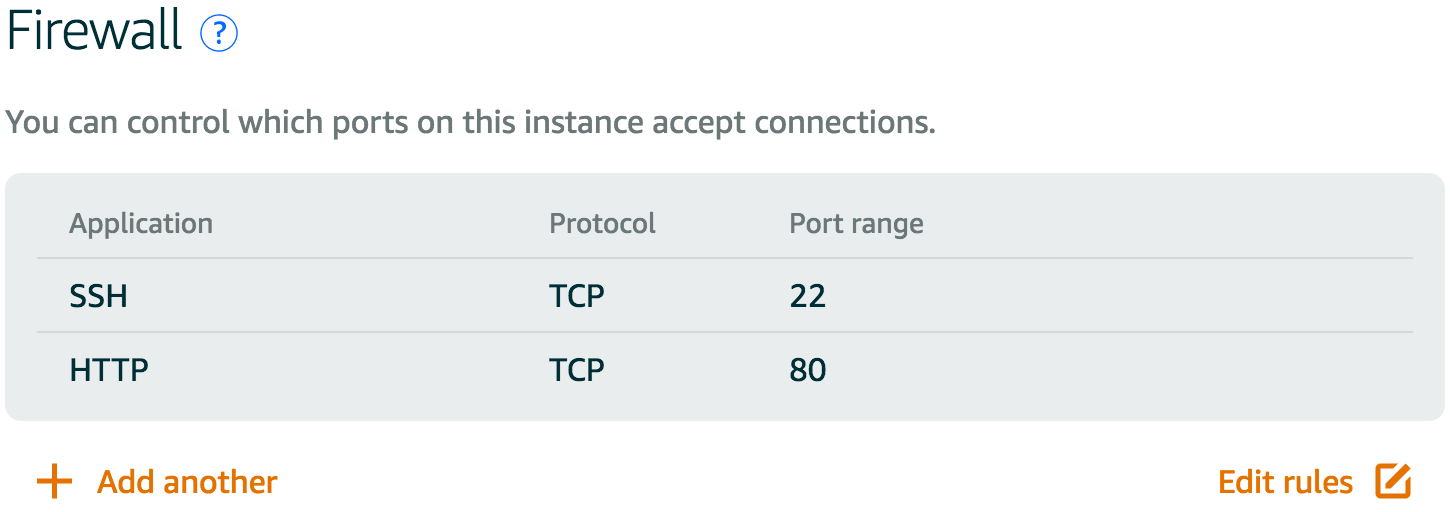
Amazon Lightsail only opens ports 22 and 80 by default, so to use HTTPS on your new server, you will need to open port 443.
Once your server has fully booted, open your server's menu again and select Manage.
Then, navigate to the Networking tab.

Here you'll see the default firewall rules. Click +Add another.
Now, select HTTPS from the new rule's drop-down list and click Save.

Connecting Your Server to ServerPilot
Because Amazon Lightsail uses SSH keys, you will have to use the manual installer to connect to ServerPilot.