How to Use CloudFlare with ServerPilot
For additional security from online threats to your site, CloudFlare is a popular—and free—content delivery network (CDN) that accelerates your site while protecting it from DDOS (distributed denial of service) attacks.
ServerPilot automatically configures your server to work with CloudFlare, so follow these instructions to activate it for your site.
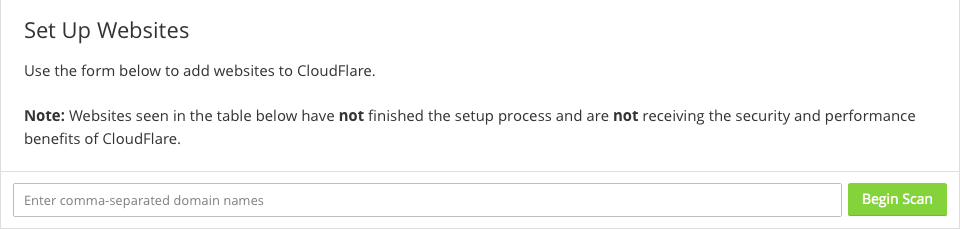
First, create an account with CloudFlare. Once your account is activated and you're signed in, add your registered domain name. (This is your domain without the www.)
While CloudFlare scans your DNS records, a short video will explain how CloudFlare works. Click Continue when it is finished.
On the next screen, review and edit the DNS records CloudFlare has found; add all of the additional records for your site.
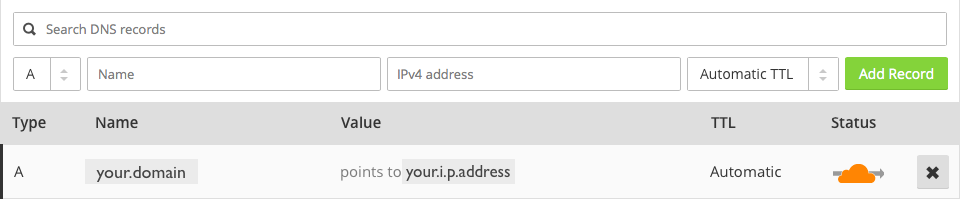
Make sure you turn on CloudFlare routing for each record you want to go through CloudFlare's network.

Click Continue.
Select the plan you want to use. The Free plan offers excellent performance boosters and threat protection for your site, but the Pro, Business, and Enterprise plans provide even greater enhancements and security measures. Choose the one that is right for you.
CloudFlare will then give you two new name servers and prompt you to change them at your registrar. This must be done or your site will not be routed through CloudFlare.
When you are finished, click Continue.
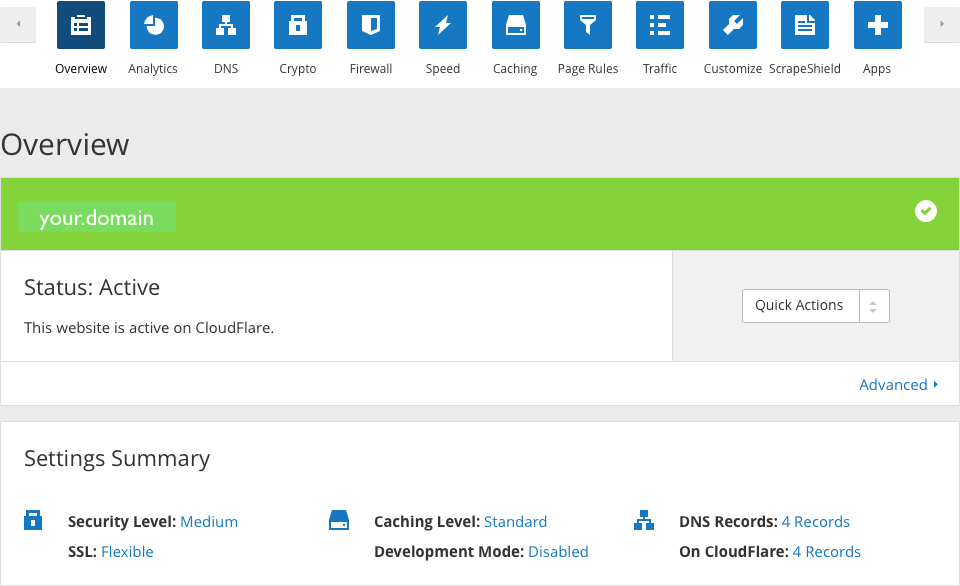
Now, you can use the CloudFlare Dashboard to control even more of your site's security and speed settings.