How to Install and Configure the Wordfence Plugin for WordPress
Wordfence Security is a free plugin for WordPress that includes a web application firewall (WAF), virus scanning, and real-time traffic monitoring with geolocation. Along with these features, Wordfence offers protection from brute force attacks.
Installing Wordfence Security
Visit the Add New Plugins panel in your WordPress Dashboard and search for Wordfence. Click Install Now.
When the installation is complete, click Activate.
Configuring Wordfence
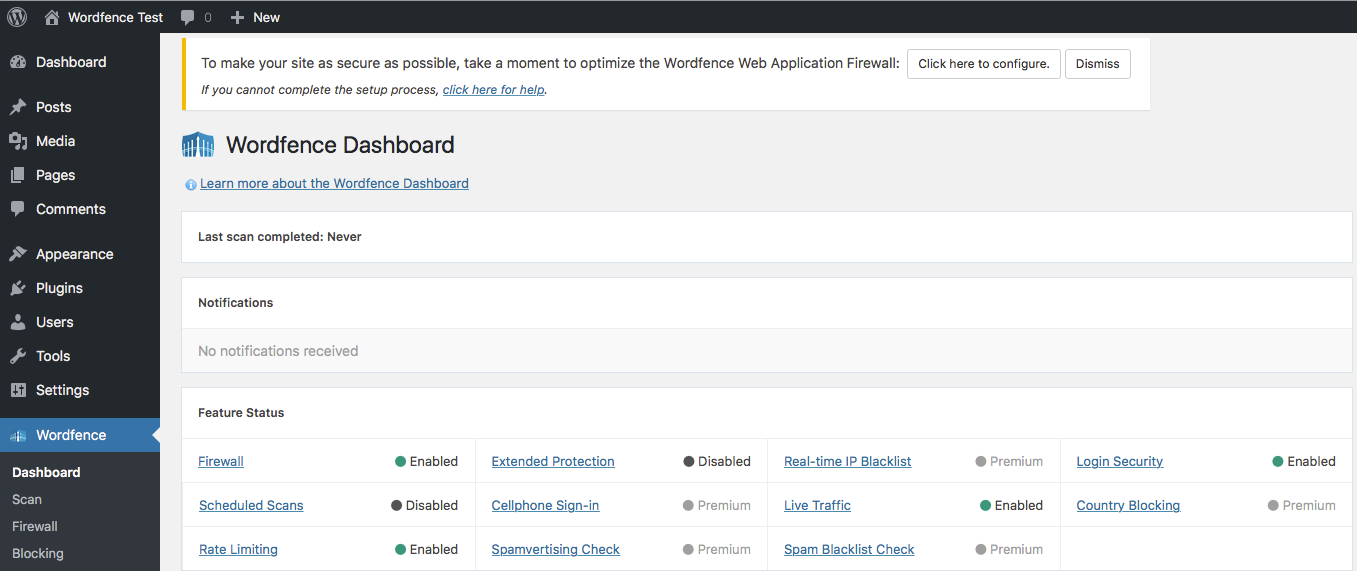
When you open your Wordfence dashboard in WordPress after activating the plugin, you should see a banner at the top of your screen. Click the button reading Click Here to Configure.
On the next screen, elect to use the preselected configuration of Apache + CGI/FastCGI.

On the next screen, you'll be prompted to download a backup of your .htaccess file. Click the button to do so, and then click Continue.
If you see a warning that your changes have not taken effect, simply refresh your browser.
Now, you can set up your WAF, app-level brute force protection, and rate limiting to suit your needs.
Scanning Your Site
Clicking Scan under your Wordfence menu will open the Scan panel.
Run your first scan to see if you need to tweak anything or if you have any issues that should be resolved.
Click Start a Wordfence Scan.

If you have any issues with your site, Wordfence will provide the solutions to resolve them or offer you the option to ignore them if they are expected errors.
Blocking IP Addresses
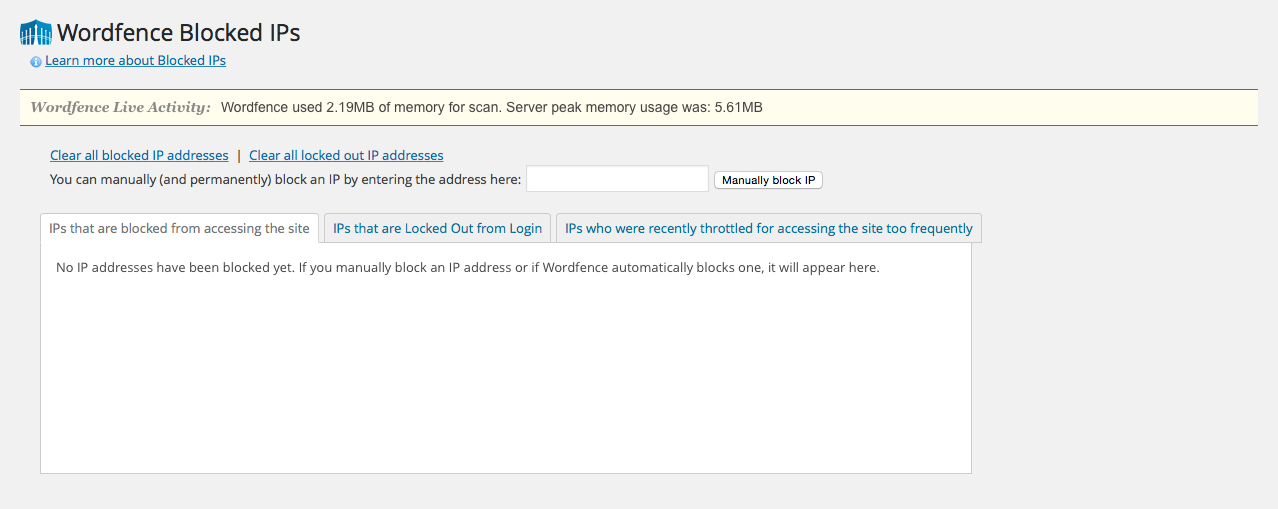
Wordfence will immediately begin enforcing brute force protection as soon as its activated. However, if you know an IP address that has previously attacked you, you can enter it on your own.
Select Blocking from the menu and then enter the address in the provided field.
You can block ranges of IP addresses by clicking Advanced Blocking in the menu.
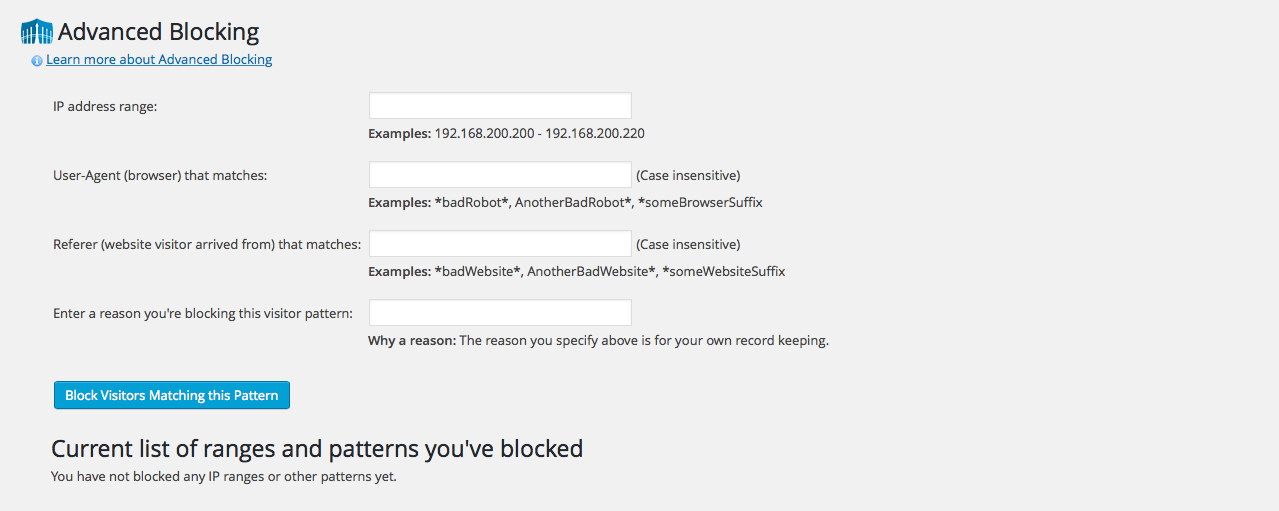
Here, you can also block particular browsers and certain referrer websites, as well as list the reason for the block.